Diy Essential Oil Burner

If you’re looking to create a soothing atmosphere in your home, using an essential oil burner is the perfect solution. Like a gentle breeze on a warm summer day, the subtle fragrance of essential oils can transform any space into a tranquil oasis.
In this article, we will guide you through the process of making your own DIY essential oil burner. With just a few materials and some simple steps, you’ll be able to enjoy the therapeutic benefits of aromatherapy in no time.
Key Takeaways
- Choose essential oils and experiment with different combinations for desired fragrances
- Use small containers like ceramic dishes or glass bowls for the oil holder
- Consider different types of burners such as ceramic, electric, or tea light burners
- Follow safety guidelines, clean the burner regularly, and handle hot surfaces with caution
Gather Your Materials
Now, you’ll want to gather all of your materials for making the DIY essential oil burner.
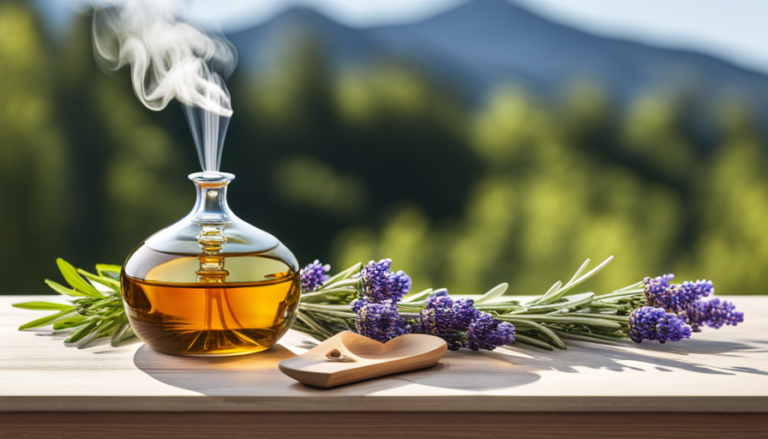
Choosing the right essential oils is crucial for creating a pleasant fragrance in your space. Consider scents like lavender for relaxation or eucalyptus for a refreshing atmosphere.
Additionally, finding alternative materials for the burner can be both economical and eco-friendly. Instead of purchasing a traditional ceramic or metal burner, you can repurpose items from around your home such as small glass jars or teacups. These not only add a unique touch to your decor but also serve as functional burners.
Once you have gathered your chosen essential oils and alternative materials, you are ready to move onto preparing the base of the burner where all the magic happens!
Prepare the Base of the Burner
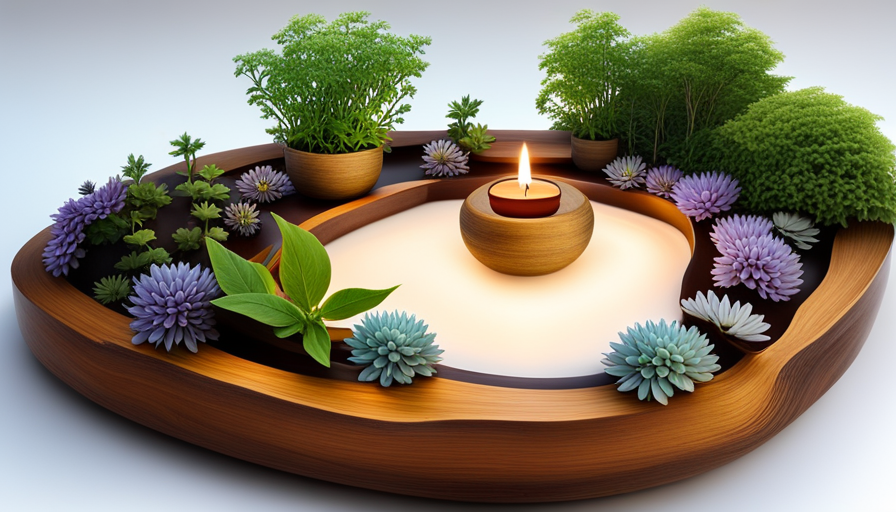
First, gather the materials needed to create the base of your homemade oil burner. You will need a small ceramic or glass dish that can withstand heat, such as a tea light holder or a shallow bowl. Look for one with decorative designs if you want to add a touch of style to your burner.
Additionally, consider alternative uses for the base, such as using it as a jewelry or trinket dish when not in use as an oil burner.
Once you have all the necessary materials, you can move on to creating the oil holder.
Create the Oil Holder
To create the oil holder for your homemade burner, you’ll need a small container that can safely hold and distribute the fragrance. Get creative with your DIY essential oil holder by using items like ceramic dishes, glass bowls, or even seashells. The key is to choose something heat-resistant and non-flammable. If you want to add a touch of elegance, consider using a small brass or copper dish.
Once you have your container, pour a few drops of your favorite essential oil into it. You can experiment with different combinations of oils to create unique scents. As the heat from the candle beneath warms the container, the oils will vaporize and fill your space with delightful aromas.
Now that you’ve created your oil holder, let’s move on to setting up and using your essential oil burner for maximum enjoyment.
TRANSITION: With your homemade oil holder ready, it’s time to learn how to set up and use your essential oil burner effectively.
Set Up and Use Your Essential Oil Burner
Get ready to enhance your space with delightful aromas by learning how to effectively set up and use your homemade oil burner. Using an essential oil burner for aromatherapy has numerous benefits. It not only fills your home with beautiful scents but also helps create a calming and relaxing atmosphere. There are different types of essential oil burners available, each with its own unique features. Some popular options include ceramic burners, electric burners, and tea light burners. Ceramic burners are stylish and easy to clean, while electric burners provide a consistent heat source. Tea light burners offer a gentle heat that slowly releases the fragrance of the essential oils. By understanding the features of each type, you can choose the one that suits your needs best. Now let’s move on to safety tips and maintenance to ensure a safe and enjoyable experience with your essential oil burner.
Safety Tips and Maintenance
Before using your homemade oil burner, it is important to follow safety precautions and properly maintain it for a safe and enjoyable experience. Here are some essential oil burner maintenance and safety tips:
- Regularly clean the burner by wiping away any residue or buildup with a damp cloth.
- Ensure that the burner is placed on a stable surface away from flammable objects.
- Never leave the burner unattended while in use.
- Use caution when handling hot surfaces and never touch the bowl or dish directly after use.
To maintain your essential oil burner, check for any signs of wear or damage regularly. Replace any worn-out parts to prevent accidents or malfunctions. Additionally, always follow the manufacturer’s instructions for safe usage and keep oils out of reach of children and pets.
By taking these precautions and properly maintaining your essential oil burner, you can enjoy a safe and relaxing aromatherapy experience at home.
Conclusion
In conclusion, creating your own DIY essential oil burner is a fun and cost-effective way to enhance your home with beautiful aromas. By following the simple steps outlined in this article, you can easily assemble a stylish and functional burner that will fill your space with delightful scents.
Remember to prioritize safety by using heat-resistant materials and never leaving the burner unattended. With proper maintenance, your homemade oil burner will provide endless hours of relaxation and tranquility, making it a must-have addition to any home.
Trust me, once you experience the soothing ambiance created by this homemade masterpiece, you’ll be over the moon!


