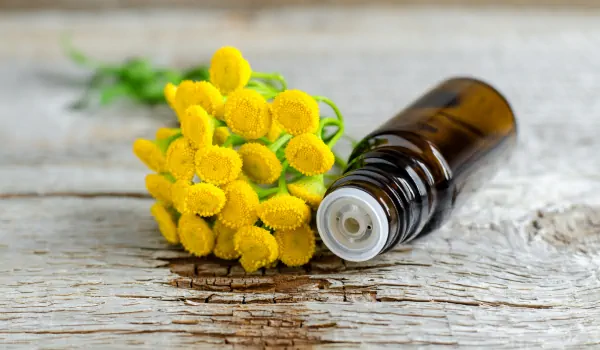
Diy Essential Oil Storage
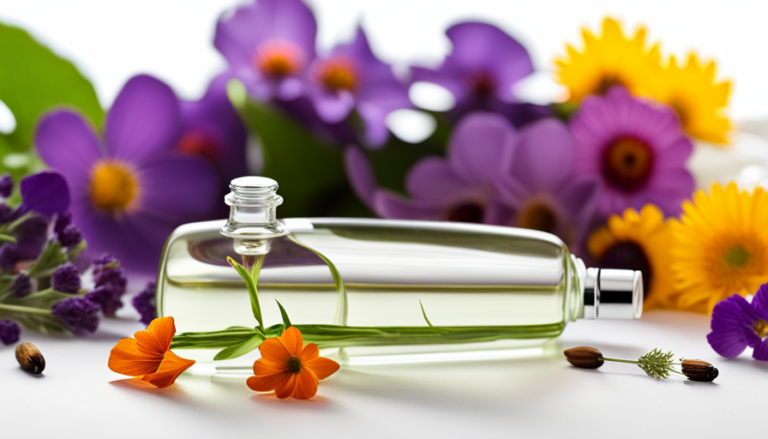
Imagine stepping into a room filled with the soothing aroma of lavender, peppermint, and eucalyptus.
A well-organized collection of essential oils awaits you, each bottle perfectly stored and easily accessible.
With DIY essential oil storage, you can transform everyday items into clever storage solutions that not only protect your precious oils but also add a touch of charm to your space.
In this article, we will guide you through the process of creating an efficient and aesthetically pleasing storage system for your essential oil collection.
Key Takeaways
- Repurpose everyday items like spice racks or jewelry boxes for essential oil storage
- Designate a specific storage area to keep oils organized and protected
- Use dedicated storage boxes or cases to conveniently store and protect oils from light, heat, and spills
- Consider proper storage conditions such as a dry environment, temperature stability, and protection from direct sunlight
Repurpose Everyday Items for Storage
You can easily repurpose everyday items for storage using items you already have around the house. When it comes to organizing your essential oils, there are plenty of creative alternatives that won’t break the bank.
For instance, you can use a spice rack or a small wooden box with compartments to neatly store your collection. Another great idea is to repurpose an old jewelry box or a makeup organizer to keep your essential oils organized and easily accessible. Not only does this save you money, but it also adds a unique touch to your storage solution.
Now that you’ve learned some DIY storage ideas, let’s move on to creating a dedicated storage space for your essential oils without any additional steps needed.
Create a Dedicated Storage Space
To create a dedicated storage space for your essential oils, start by designating a specific area in your home where you can store them safely and conveniently. This could be a shelf or cabinet that is easily accessible to you.
By having a designated space, you will know exactly where to find your oils whenever you need them and can keep them organized and protected from sunlight or heat exposure.
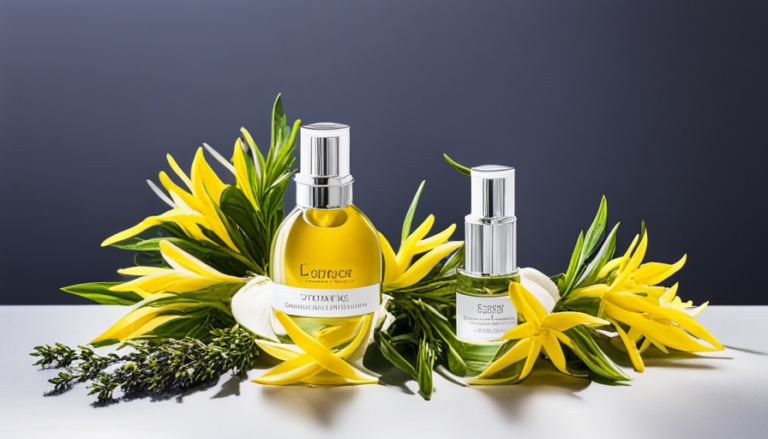
Designate a specific area for your oils
Create a designated area in your home for storing your essential oils. Not only will this keep them organized, but it will also add a touch of beauty to your space.
Consider using decorative storage solutions that not only provide function but also enhance the aesthetic appeal of your oils. There are plenty of DIY essential oil display ideas that you can explore, such as repurposing old wooden crates or using glass jars with personalized labels. These creative options allow you to showcase your collection while keeping them easily accessible.
Once you have created a designated area for your oils, the next step is to use shelves or a cabinet for easy access. This ensures that you can quickly find the oil you need without any hassle.
Use shelves or a cabinet for easy access
Consider installing shelves or a cabinet in your designated area to ensure easy access to your oils. This will not only keep your essential oils organized but also make it convenient for you to find the specific oil you need without any hassle.
Repurposing containers can be a great way to store and display your essential oils on these shelves or inside the cabinet. You can use small glass jars, decorative tins, or even vintage perfume bottles to add a touch of charm to your storage area.
Another creative display idea is to use spice racks as mini shelves for your essential oil collection. These compact and easily accessible storage solutions will not only save space but also allow you to showcase your oils in an aesthetically pleasing manner.
Transitioning into the next section about using essential oil storage boxes or cases, let’s explore another option for keeping your oils safe and organized.
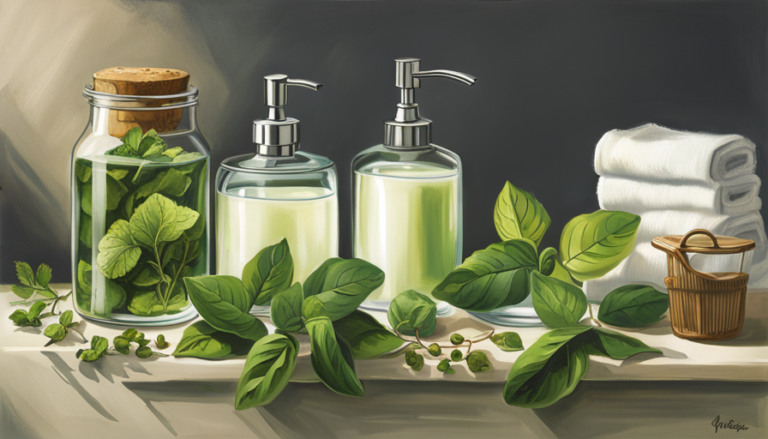
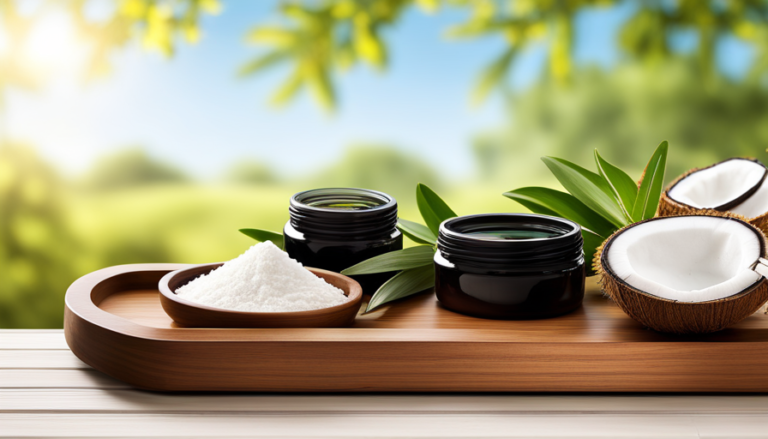
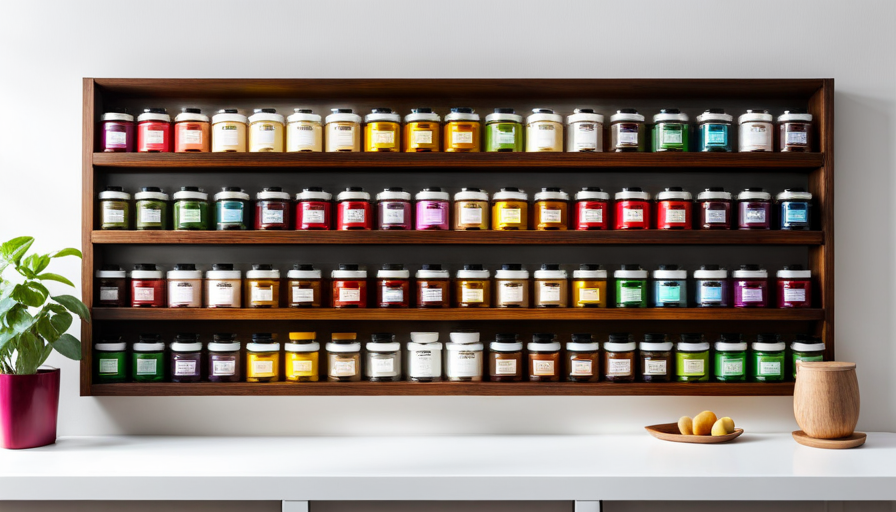
Use Essential Oil Storage Boxes or Cases
Store your essential oils in a convenient and organized manner by using essential oil storage boxes or cases. These boxes are specifically designed to hold and protect your precious oils, keeping them safe from light, heat, and potential spills. They come in various sizes and styles, allowing you to choose the one that best suits your needs. One option is to repurpose containers such as small wooden chests or jewelry boxes with dividers. Another DIY storage idea is to use a tackle box or craft organizer with adjustable compartments. This allows you to customize the space according to the size of your essential oil bottles. By utilizing these storage solutions, you can easily find the oil you need without rummaging through cluttered shelves or cabinets.
When considering the proper conditions for storage, it’s important to keep in mind that essential oils should be kept away from direct sunlight and extreme temperatures.
Consider the Proper Conditions for Storage
Now that you have considered using essential oil storage boxes or cases, it’s important to understand the proper conditions for storing your oils.
Proper storage is crucial in maintaining the quality and effectiveness of your essential oils. One key factor to consider is humidity control. Essential oils are sensitive to moisture, so it’s important to store them in a dry environment.
Additionally, temperature stability is also vital. Extreme heat or cold can cause changes in the chemical composition of the oils, affecting their therapeutic properties. Therefore, it’s recommended to store your oils in a cool and dark place away from direct sunlight and fluctuating temperatures.
With these conditions met, you can ensure that your precious essential oils remain potent and effective for longer periods of time.
Now let’s move on to the next section where we will discuss how to label and organize your oils without any confusion.
Label and Organize Your Oils
To keep your oils organized and easily accessible, label each bottle with its corresponding name or purpose. This will help you quickly find the oil you need without having to search through every bottle. You can use creative storage solutions to organize your oils, such as using a spice rack or a wooden box with dividers. Additionally, implementing DIY labeling techniques can add a personal touch to your storage system. For example, you can create custom labels using waterproof stickers or even handwrite labels on small pieces of cardstock and attach them to the bottles with twine or ribbon. By labeling and organizing your oils in a thoughtful manner, you’ll be able to maintain an efficient and visually appealing essential oil storage system.
| Labeling Techniques | Materials Needed | Steps |
|---|---|---|
| Waterproof stickers | Sticker paper and printer OR markers/pens for handwriting | 1. Design or write labels |
- Print or write on sticker paper
- Cut out labels
- Peel backing off stickers
- Attach stickers to bottles |
| Handwritten labels | Cardstock, markers/pens for handwriting, twine/ribbon for attaching | 1. Cut cardstock into small rectangles - Write names/purposes on cardstock
- Punch hole in one corner of each label
- Thread twine/ribbon through hole
- Tie twine/ribbon around bottle necks |
These DIY labeling techniques will not only make it easier for you to locate specific oils but also add a personal touch to your essential oil storage setup.
Conclusion
Congratulations! You’ve unlocked the secret to mastering the art of DIY essential oil storage.
By repurposing everyday items, creating a dedicated space, and using storage boxes or cases, you can keep your precious oils safe and organized.
Remember to consider the proper conditions for storage and label each bottle for easy access.
Just like a conductor orchestrating a symphony, your well-organized collection will harmonize beautifully, allowing you to effortlessly create aromatic masterpieces.
Happy oil organizing!